Wow! This one took a long time!
Here is the second version of the Nature Queen! I thought the other version wasn't "Natury" enough (is that even a word?). Well, anyways, I started by erasing the armor of my "old" design.

Because, sure, she has a flower in her hair, but her outfit still lacks the "Nature" aspect of Nature Queen. So I decided to make the armor myself! So in school, weekends ect. I thought of what her costume (basemesh) would look like. And then, it hit me. I was going to make a green coloured top, green coloured short pants, vines on her legs and a tree stump for her body. Ok, For the top, I started by selecting the vertices by the brests and the back. But first, you have to use your knife tool (K) to seperate these faces.
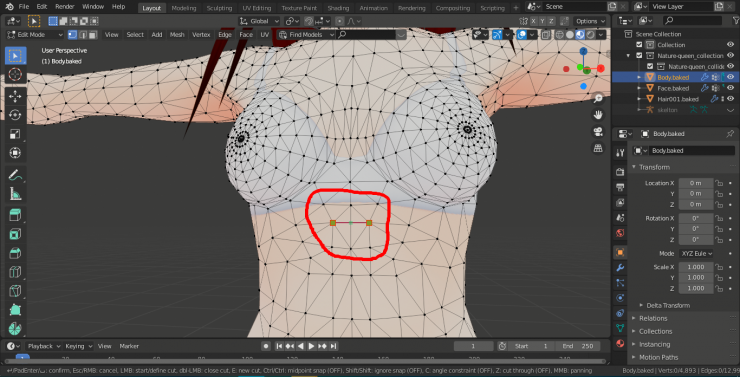
Now, here are all the vertices to select:
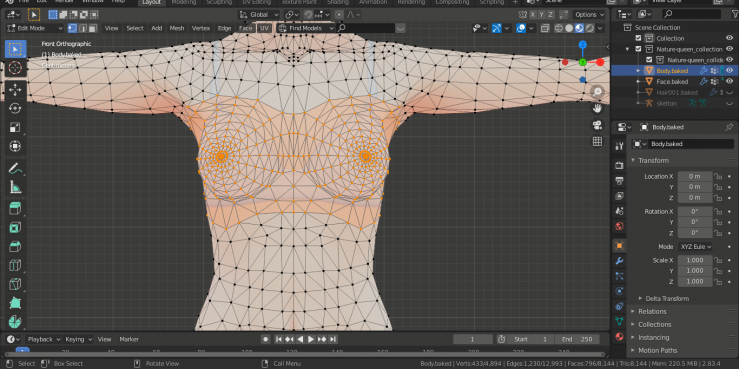
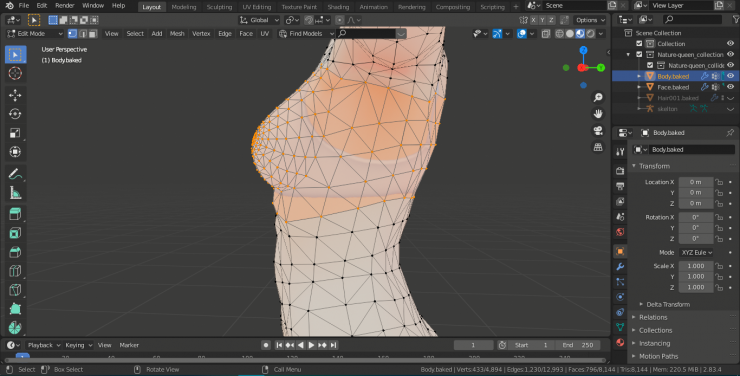
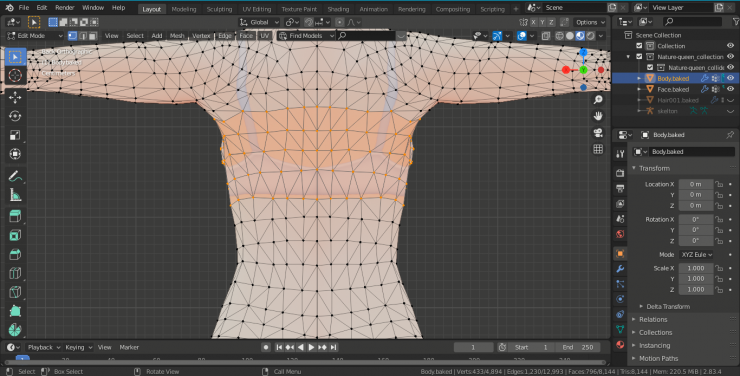
Great! Now go and press "Shift + D" to duplicate and then just press the Right mouse button to place it back where it was. Then, press "P" and select "Selection". Awesome! Now go into object mode and select the newly made object. It should be labeled as "BodyBaked.001". Now, go into the material tab, and delete all of the materials. then click on "New Material".
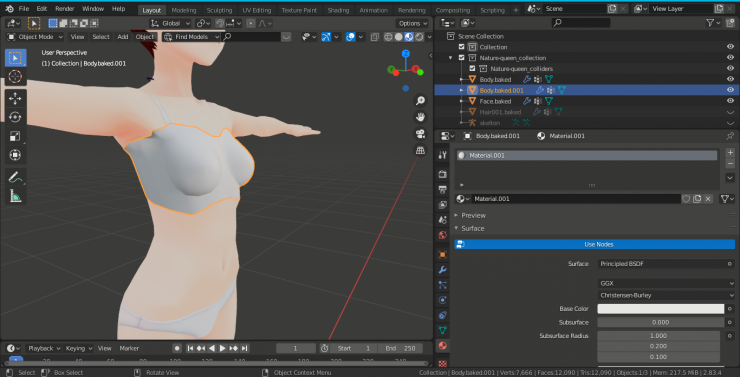
Now use The Solidify modifier and put it at -0.000001 m of thickness.
(Oh yeah, and if you are getting this weird "line" effect on the back of your character, just return into edit mode, select everything (A) and merge vertices by distance.)
Now you would probably like to use subsurface modifier for this because it kinda looks janky right now. Now if you get a jumbled up mess when you use subsurf, just scale up your model, play with the vertices ect. and extrude the top of the model in a heart shape like this:
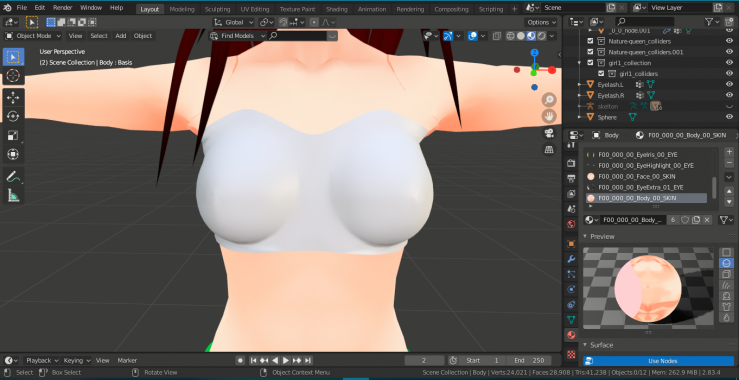
Great! Now give it a green color and for the short pants, do the same thing as the top. the tree stump is basically a cylinder, and the vines are part of the texture for the legs.
We are done! Wow this was long but so worth it!
Thank you for reading! BYEEEEEEE!!!
