Yes, that's right! After almost a year of not uploading, I'm back!
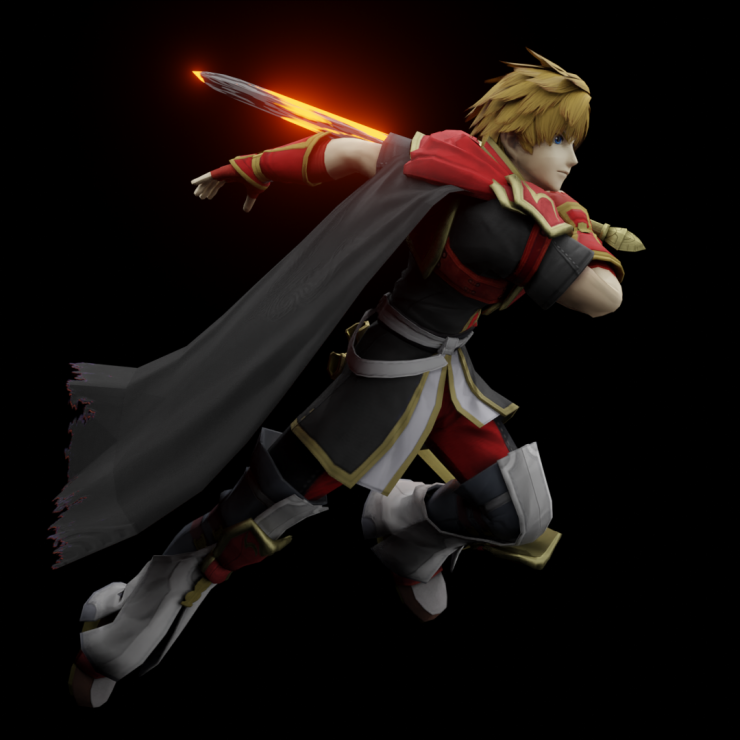
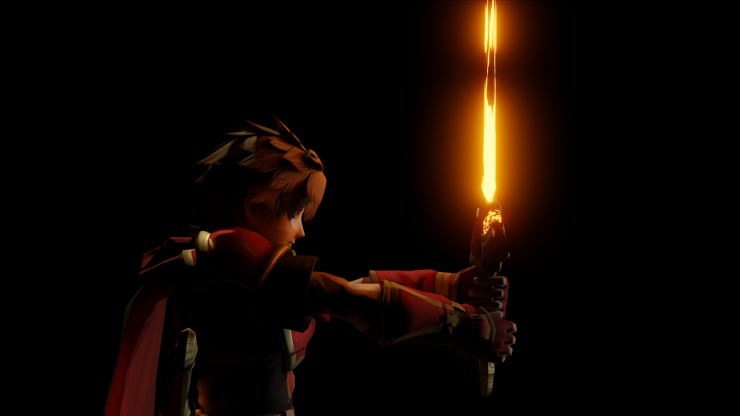
Today, I'm going to show you how to make awesome renders like these:
Cool, Right? All right, let's get started! So first, what you need is a character. I based my character off Roy from Fire Emblem. After that, you need to rig him, put on textures, Blah, Blah, ect. When that is all done, you need to make a copy of your file so ''Save as'' (Shift+Ctrl+s). In the copy of your file, you can start posing your character in pose mode. First, select your armature, then click on the tab where it is saying object mode, And go to pose mode. In pose mode, You can do whatever you want. Let's take my first render for example, the one holding the sword close to him. here I experimented with the camera as first, I was trying to get my shot from front view. Later, I switched it to side view. I recommend using cycles for your render if you have a pretty beefy computer, if not, well, enjoy your 24 h Render. ;P In the end, if you have glowing parts like mine, you should leave those until the very end, because you can just use the ''glare'' node in the compositor, and it will look like Eevee's ''bloom'' option. Thanks for listening, Bye!!!